How to Properly Install Exterior Wall Cladding for Maximum Durability
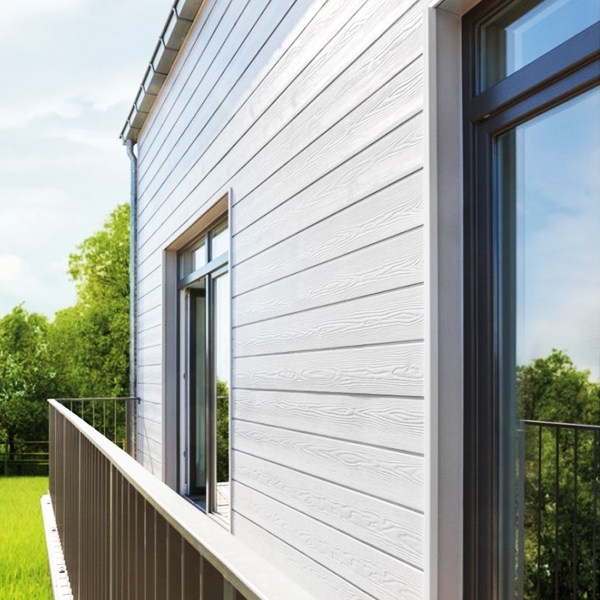
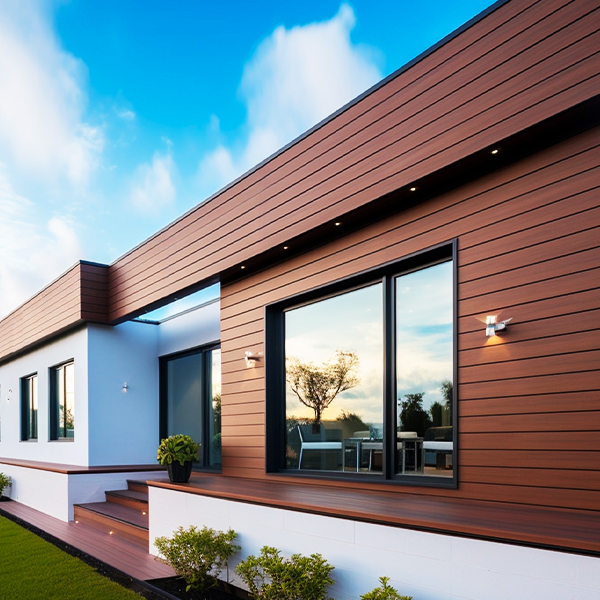
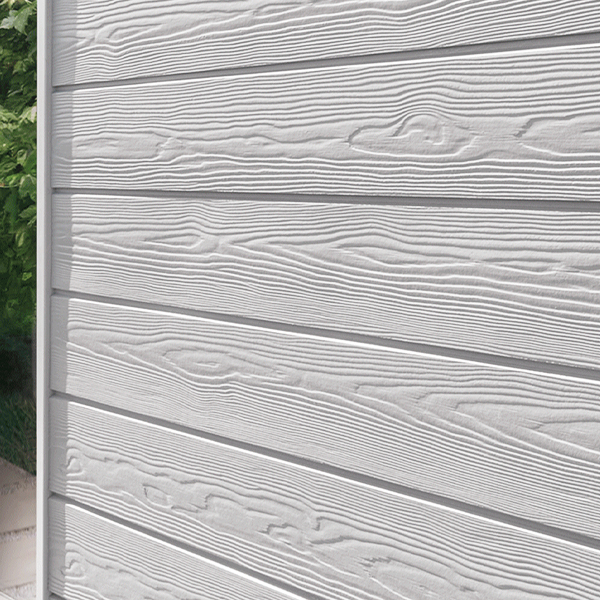
When you want to make the outside of your home look good and stay strong for a long time, using exterior wall cladding is a great choice. To install it properly, you need to follow some important steps. First, you should choose the right type of cladding. There are many materials you can use, like wood, vinyl, or metal. Each material has its own look and benefits. For example, wood can make your home look warm and inviting, while metal can give it a modern feel. Once you have chosen the material, make sure the wall is clean and dry. This is important because any dirt or moisture can cause problems later on. If the wall is not even, you might need to fix that too. Next, when you cut the cladding pieces, be careful to measure accurately. It’s better to measure twice and cut once to avoid mistakes. When you start putting the pieces on the wall, begin from the bottom and work your way up. This way, the pieces overlap correctly and water can run off easily. Make sure to use the right tools, like a level, to ensure everything is straight. If you are using nails or screws, make sure they are spaced properly to hold the cladding tightly against the wall. After you finish, check for any gaps or spaces. If you find any, use caulk to seal them so that water doesn’t get inside. At SANER, we believe that taking the time to install your exterior wall cladding correctly will help it last longer and keep your home looking great. For those considering aesthetic options, Laminated Asphalt Shingles can provide a stunning visual appeal.
 EN
EN